Friday, April 30, 2010

Make Something For The Mailbox

Handmade Cards Still In Fashion
In the age of
electronics, email, Facebook and Twitter the homemade card still has a very special place. Clicking on send and receive will never match the feeling of reaching into your mailbox and pulling out an envelope containing a greeting that was made just for you. It may be a simple card made by a child in kindergarten or an elaborate layered and hand coloured work of art made by a friend or relative. They both mean the same thing, somebody thought enough about you to make you something special and remember you for whatever reason.

There are many websites you can check out to get ideas on cards to make and all sorts of different techniques that can be used but the most important thing is to start small and simple. As you learn more your cards will grow. No matter how fancy you may get with practice there will always be a place for the quick, simple card.

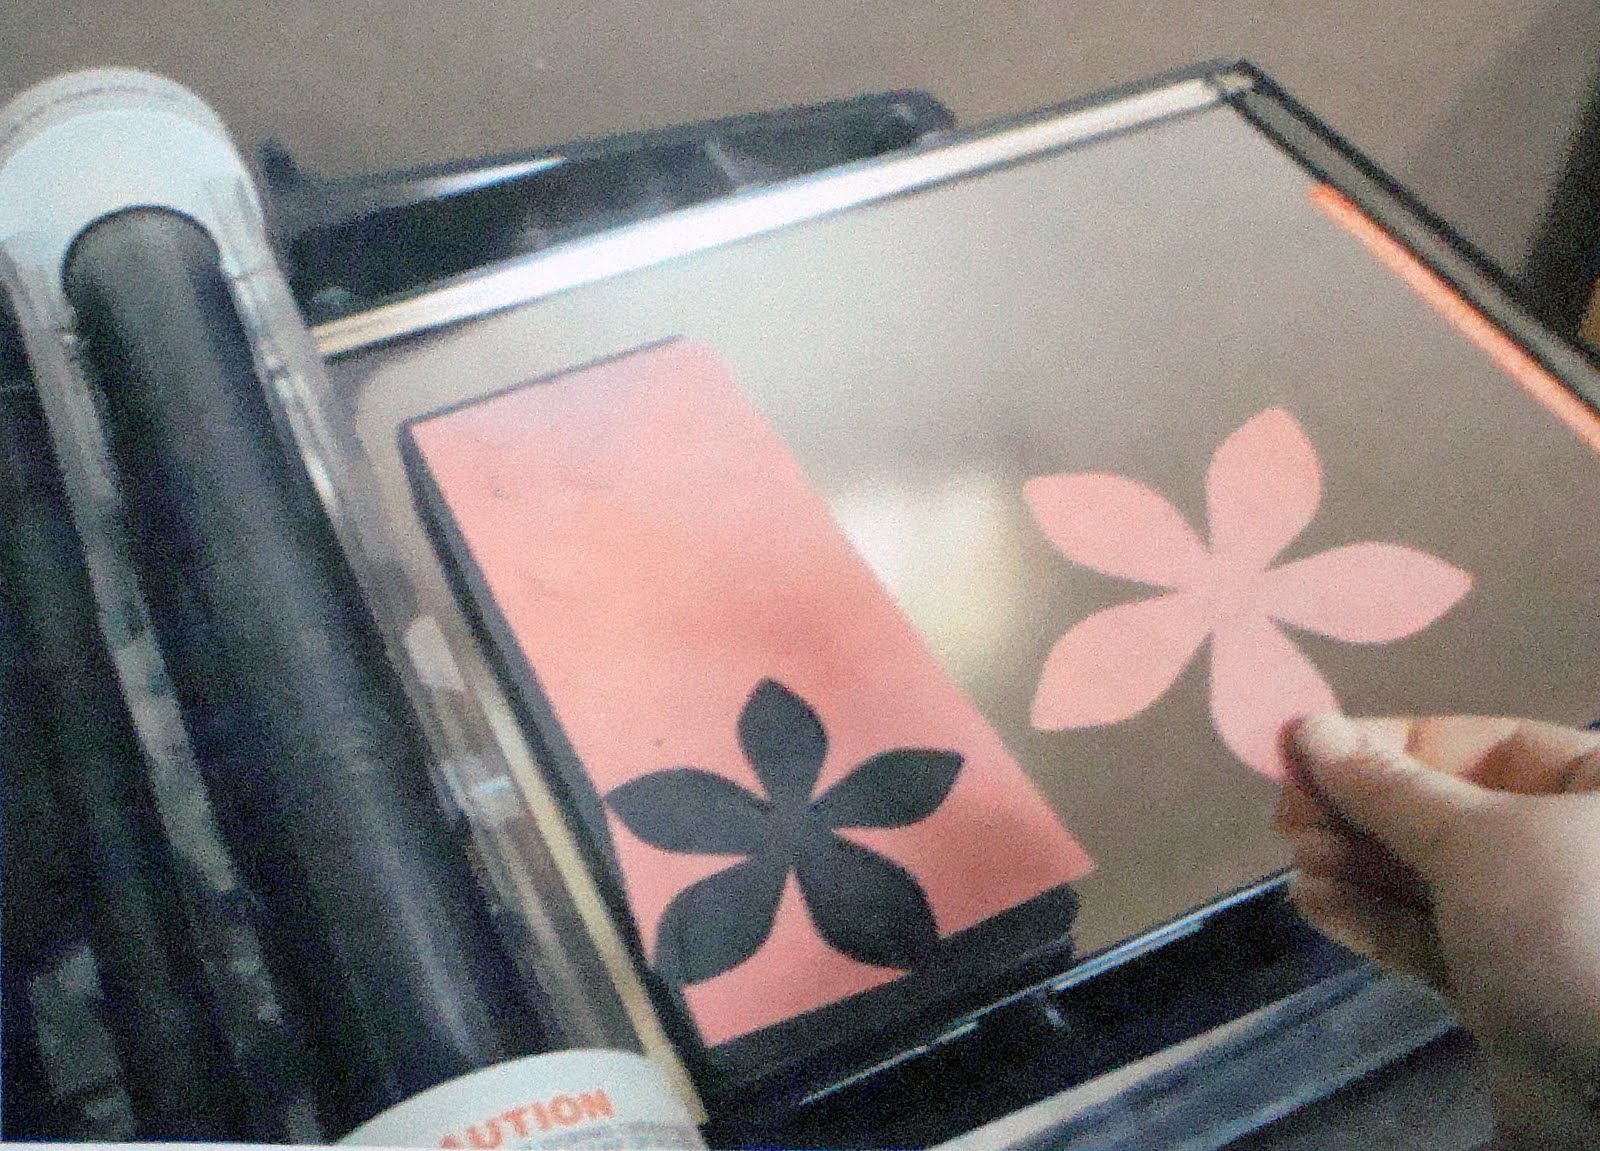
Every card, like many projects, starts with a blank sheet of paper which you cut and fold into the desired shape. Most cards are made from a sheet of 8.5” by 11” cardstock, cut in half width-wise producing two pieces that are 8.5” by 5.5” and then folded to create a card measuring 5.5” by 4.25”. Sets of blank cards and envelopes are also available, which help eliminate this step. Now that you have your card ready you can design the front by making a panel that you would adhere to the folded card or just decorate the base layer. It is up to you! If you’re a little unsure how to proceed, The Paperie offers classes each month where you make a couple of cards that you can take home while learning techniques and being introduced to all the materials available for card making. You can also check out their blog at thepaperie.wordpress.com where there’s great inspiration for card making.

The cards shown here are made by the staff at The Paperie (mostly Meghan) and illustrate how beautiful and simple a card can be. The wedding, cupcake and boat card are all made with stamps from Amuse. The wedding card has a white base and then the panel layered with graduated and contrasting coloured squares, making the main image stand out. The bride and groom are stamped on and the dress has glitter added for effect. The Cupcake card has a cut out square in the middle and is stamped with Amuse’s cupcake builder clear stamp set. The cupcake image is coloured and then a smaller stamp from the set is used to make the background. Curling Waves and Sailboat are two the stamps used for the you float my boat card, both images are cut out, then layered directly on the card front.

The other two cards are made with heat embossing techniques, which you would surely learn at The Paperie’s classes. The stamps used are from Hero Arts and are Poppy Background and Silhouette Grass.


All stamps and materials are available at The Paperie. For more information visit http://www.thepaperie.ca or call them at 709-726-5323. For additional content visit

http://www.just2crafty.blogspot.com.

Saturday, April 3, 2010

I Have My Own Column!!!!

The following is the article to run in my Craft Column in Current Magazine, a local bi-weekly entertainment and events publication. I have been writing for Current for several months but have just recently started the Craft Column. Read and enjoy!

March 19th - April 2nd, 2010 CURRENT | Page 9
Just2Crafty
Using Die Cuts In Your Projects
Versatile Medium for Pages and Cards
By Debby Winters

Any paper project starts with a blank page whether it is a folded card or a scrapbook page. It’s what you fill that space with that makes it your own and expresses your artistry. One approach is to use die cuts; pieces of designer paper or cardstock cut in shapes that can highlight your
focal point or become your focal point. If creating a scrapbook page then the photos should be the focus.


In a card you can have a stamped image, sentiment or a die cut shape as focal examples.
When adding die cuts to your collection you there are many different machines that you can choose from in a variety of sizes and prices. However, if you want the versatility of die cuts without the expense or taking up valuable craft space local craft stores often have a machine that you can use.The Paperie, 36 Pippy Place has the AccuCut System available in their workshop. It’s an easy way to add variety and spice to layouts. The system consists of the AccuCut machine, dies (which are the medium that cuts the paper into a desired shape) and cutting mats. The machine is extremely easy to use, after picking out the shape and paper, just place it in the machine. First the die, then your paper, covered with the cutting mat which allows easy movement of the die “sandwich” through the machine. Once everything’s in place you crank the handle and the "sandwich” passes under a pressure applying barrel forcing the blades of the die up into the paper and cuts out your shape.


The AccuCut allows you to cut a variety of materials from fabric to chipboard, if it can lay flat you can probably cut a shape out of it. The Paperie has a wide variety of dies, including several alphabets, many basic and dedicated shapes as well as dies for making mini albums and other novelties. With the AccuCut you can also do multiple cuts at once. This is time saving if working on a project like a birthday, anniversary or wedding. The ways to use each die are only limited by your own imagination. For instance, the “tree without leaves” die can be used as part of a layout, or on its own.
You can add anything to its branches using the other dies at The Paperie. Maybe hearts for a wedding or Valentine’s, coloured leaves for fall, Easter eggs in spring, even pictures of your family members.

The benefit of using The Paperie’s AccuCut doesn’t stop with a wide variety of dies to choose from but also you can choose from their wide range of designer papers and card stock.
Their friendly and informed staff is there to assist as well. So, let your imagination be your guide and create “Your Story, Your Way” at The Paperie. For more information visit www.thepaperie.ca